The Kid Stays in the Kitchen: Tandy’s Red Bean Rice Cake

IMG_0130
IMG_0070
IMG_0071
IMG_0104
IMG_0107
IMG_0110
IMG_0118
IMG_0125
IMG_0133
IMG_0137
IMG_0139
IMG_0140
IMG_0141
IMG_0143
IMG_0147

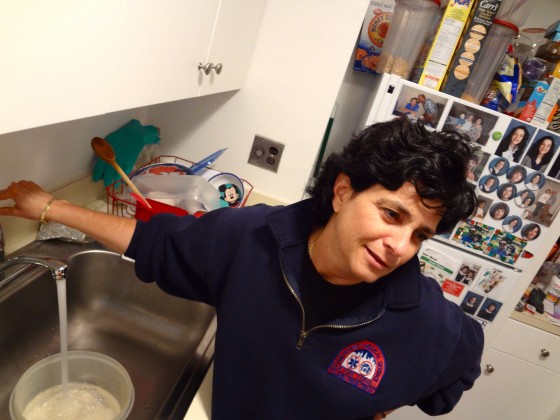
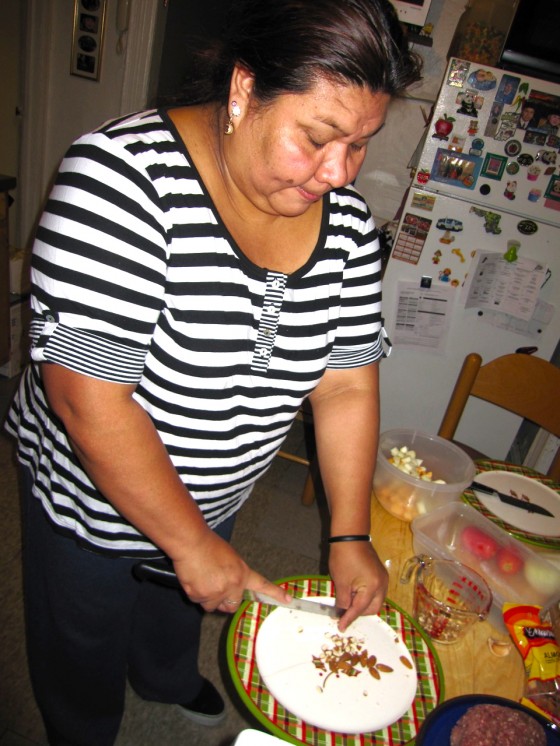
Thanks for checking out this week’s edition of “The Kid Stays in the Kitchen.” Each week a student is assigned to cook a traditional dish with a friend or family member and document the experience in photos and words. This week features Tandy, who prepared a red bean rice cake, a comforting treat which reminds her of her grandma.


Hong Dou Nian Gao (Red Bean Rice Cake) by Tandy

It wasn’t a matter of what to cook, but how to cook it. The minute we were given this assignment in class, I instantly knew what I wanted to make: 红豆年糕 (Hóngdòu niángāo) which roughly translates into red bean rice cake. (Red bean sticky cake would be the more direct translation but it sounds less appetizing). To me, this recipe is like a memory capsule. Does that sound weird? Let me explain. When I was young, my parents were always busy working, so it was mostly my grandmother who stayed with me day and night. She would teach me things about food, how to prepare it or how to pick the best ingredients. One of my grandmother’s favorite dishes was Red Bean Rice Cake. She’d make it for us whenever we got a chance to have a family dinner. It would be the one day of the week when I got to see both my mother and father at the same time. So to me this cake is a sign of coming together. Whenever I smelled the red beans boiling, I knew that my parents would be home for dinner.

After my grandmother went back to China, I was devastated and I wouldn’t eat anything. The only thing that my parents could get me to eat was the red bean cake. It reminded me of her and the times I had been with her. The only problem was that my parents could never get the recipe correct. It would always be too sweet, too soggy or too bland. Sometimes they cooked the red beans for too long. Other times they didn’t leave the cake in the oven long enough. Regardless, I was really frustrated by the fact that the recipe might’ve been gone forever along with the memory I had of her.

I realize now that the magic of the cake is that it will never be the same every time. There was no solid recipe for how much sugar to put or how long to bake it. It all depended on the mood of the day. On days when the weather was cold, my grandmother would bake the cake slightly longer to keep it warm. When I was growing out of my baby teeth, my grandmother made the cake softer by adding more milk to it. There were so many variations that I lost track of the original but I guess that’s why I like this dish so much.

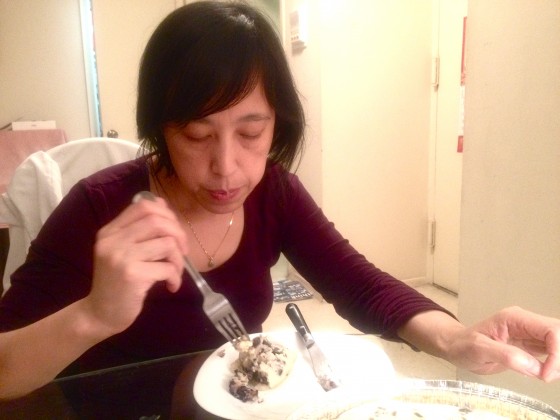
When I finally learned the recipe, I realized that the fun part of making the cake is experimenting with it. It doesn’t matter if there’s an extra quarter cup of milk or if I leave it in the oven for a few minutes longer. What matters is what treasure I get out of it. And for me, it’s the embodiment of my grandmother’s presence that really makes this the best dish ever.

Recipe:
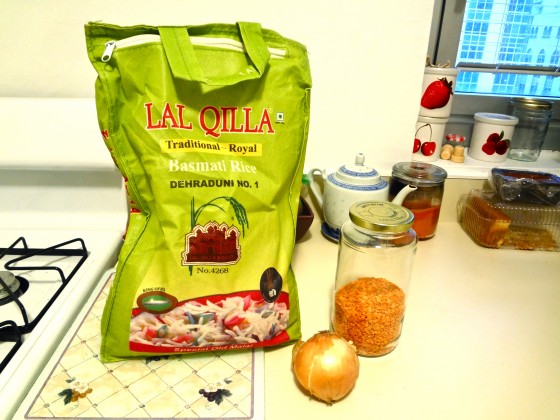
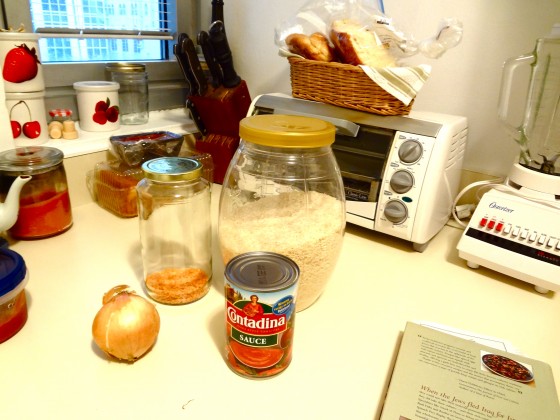
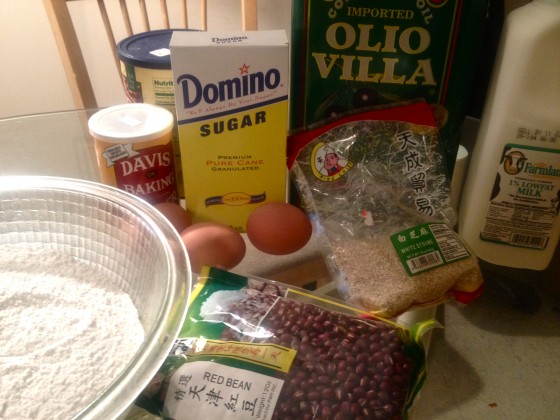
• 4½ cups glutinous rice flour (sticky rice flour)
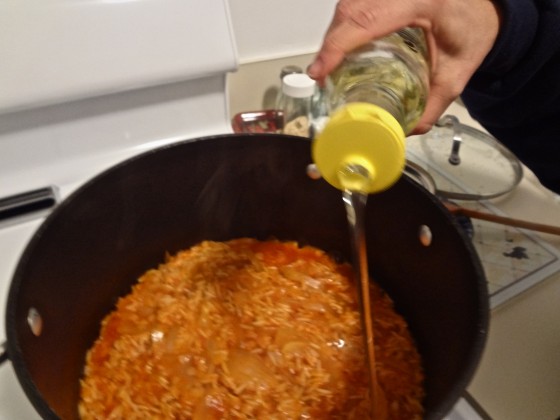
• ¾ cups vegetable oil
• 3 large eggs
• 2½ cups milk*
• ¾ cup granulated white sugar*
• ¾ cup brown sugar*
• 1 tablespoon of baking soda
• 1½ – 1¾ cup of mashed red azuki bean
• (optional) 1 cup of sesame
* can be moderated based on preference

Directions:
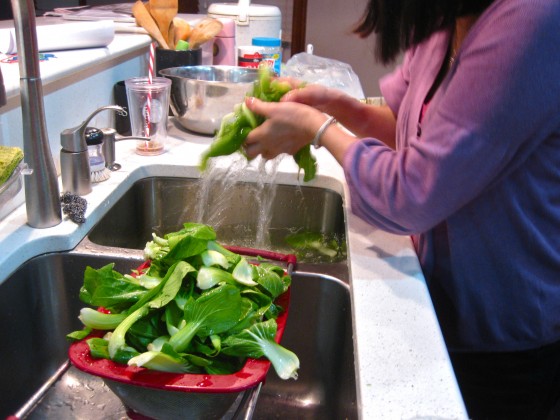
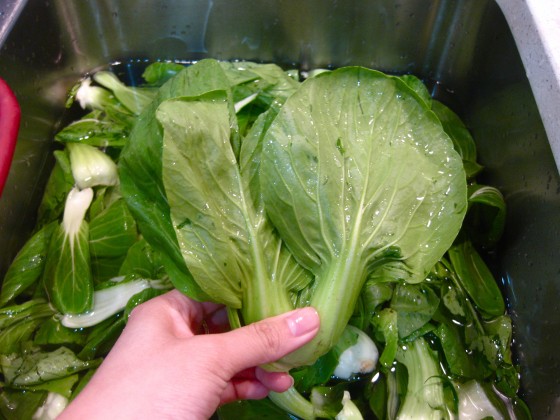
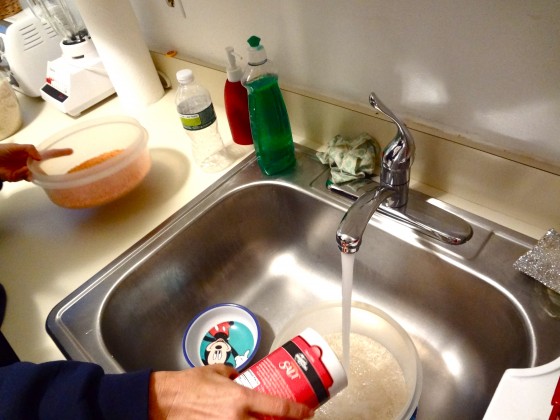
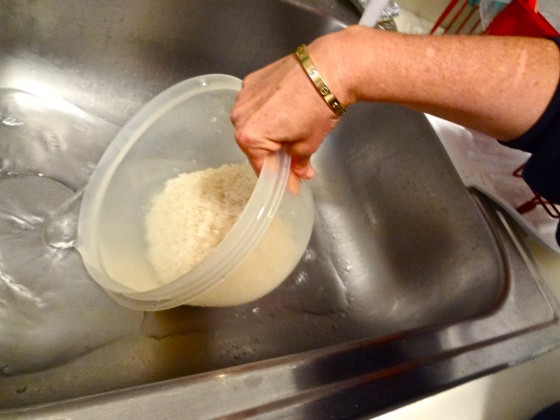
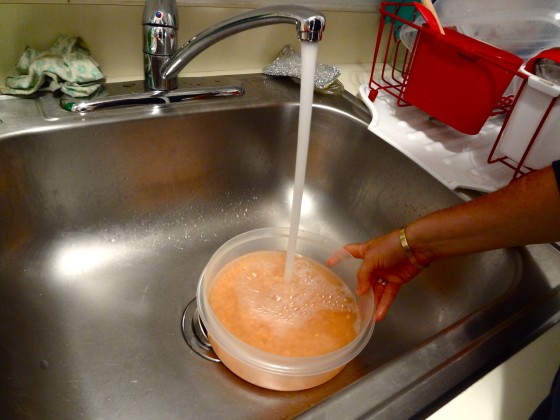
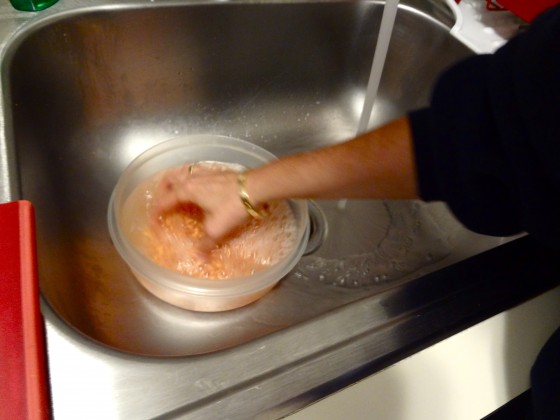
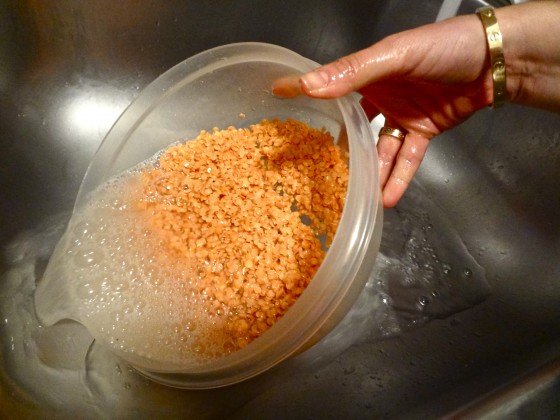
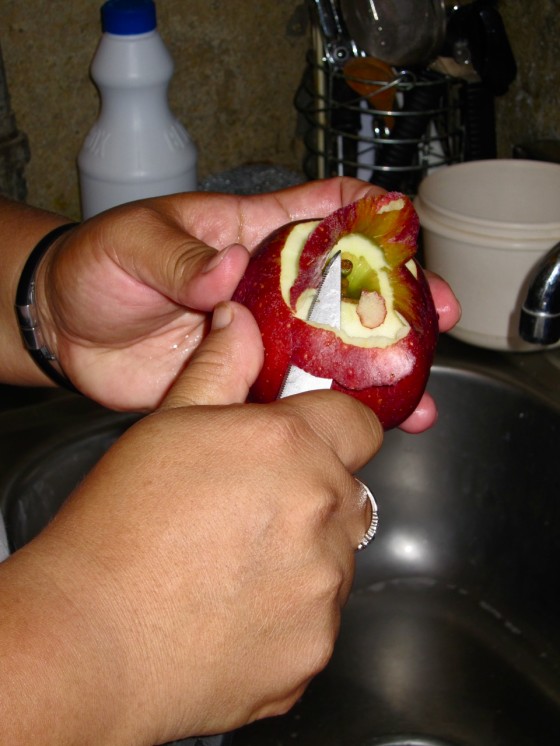
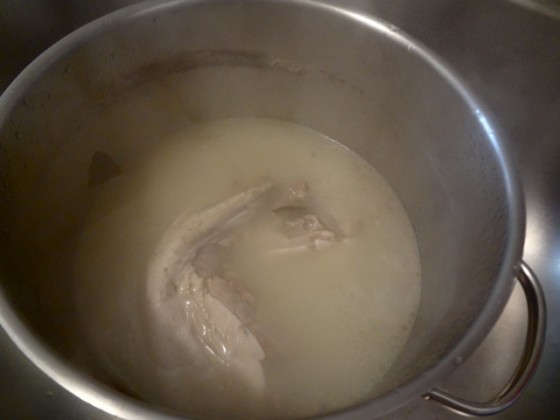
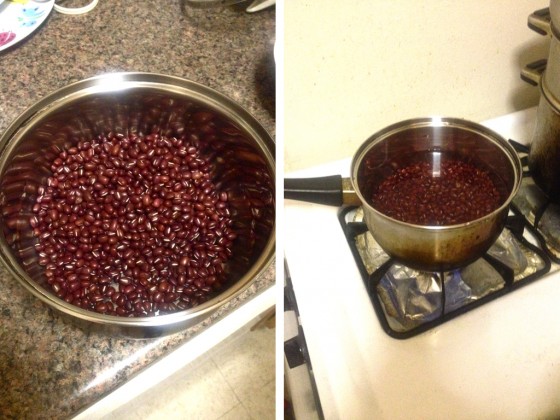
1. Thoroughly wash the beans and throw out any that are damaged.
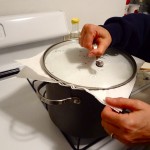
2. Put the beans in a medium size pot and add double the amount of water to boil it. Depending on the amount of red beans you use the cooking time is different.
3. Keep boiling until the red beans become soft and edible. (You can taste it occasionally to see how soft you want it to be.)
4. Store them in the fridge in a bowl with plastic wrapping on top for about 5-10 minutes. Then go to work on the batter.
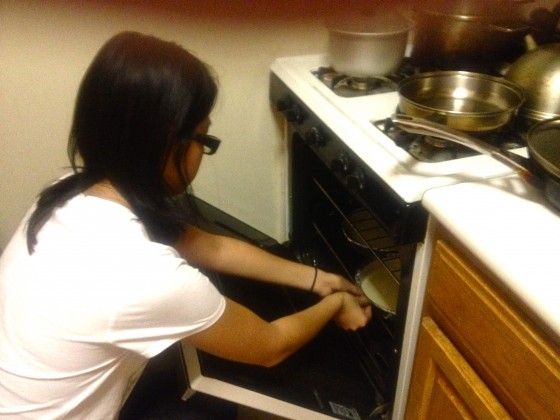
5. Preheat oven to 350°Fahrenheit (about 175°Celsius). Use a paper towel to rub a small amount of oil over a 9×9 inch pan.
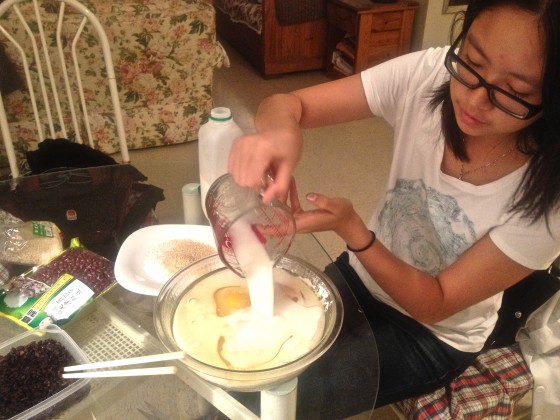
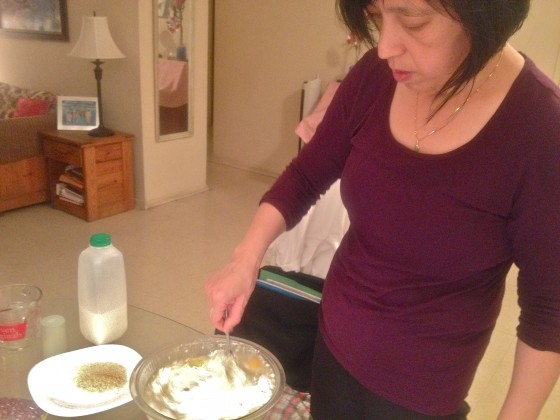
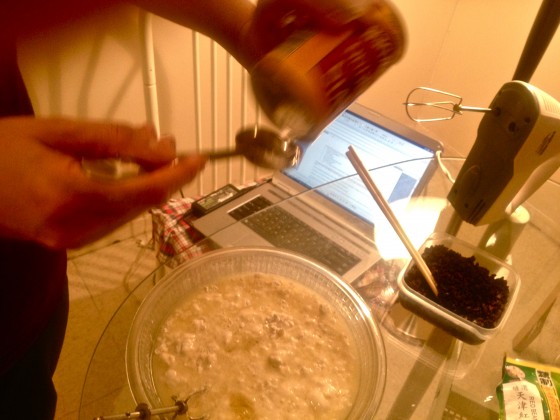
6. Mix everything but the red beans in a bowl (preferably with the flour first and the baking soda last).
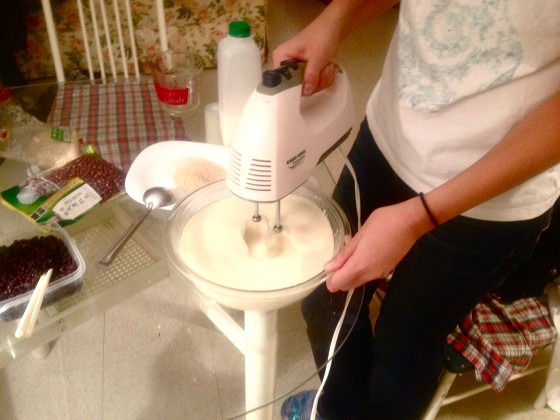
7. Stir for about 5 minutes (or stir with an electric mixer at medium speed for 2 minutes).
8. Keep stirring for about 2 more minutes or until the mix is completely liquidated.
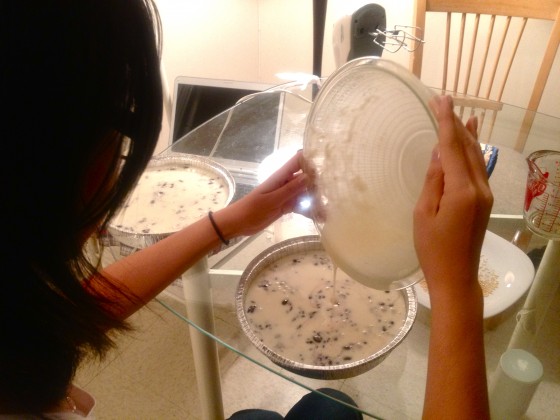
9. Spread ½ to ¾ of the batter on the bottom of the baking pan (DON’T POUR ALL THE BATTER IN YET)
10. Bake this for about 10 minutes or until the batter is just beginning to set.
11. Take out the red beans from the fridge.
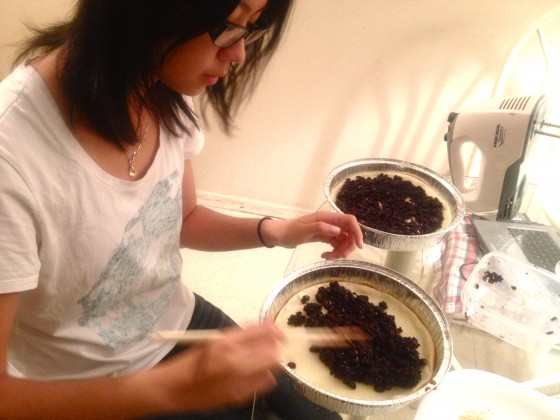
12. Remove the pan from the oven and add the red beans. Layer them evenly on top.
13. Pour the rest of the batter on top of the red beans. Don’t worry if some of the red beans are still visible.
14. Then bake again in the oven at 350 degrees for about 30-40 minutes depending on how you want the texture.
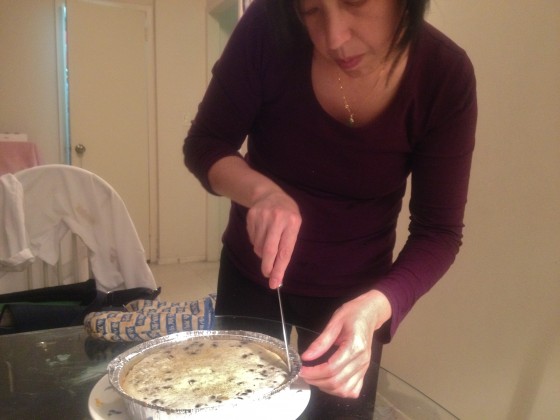
15. The cake is done when you stick a chopstick or toothpick in the middle and it comes out clean.
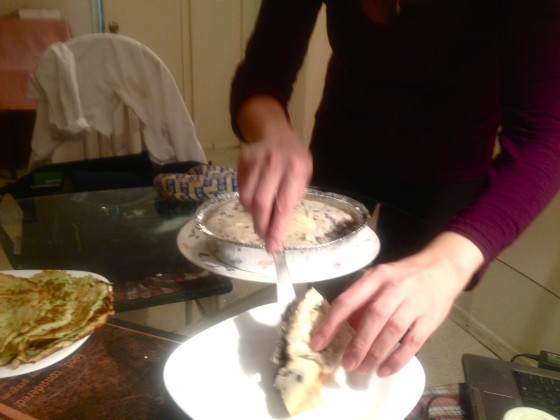
16. Let the cake sit for about 10 minutes before digging in.
17. Enjoy!

Optional: To give this cake even more of a taste, I decided to add sesame. If you want to incorporate sesame in your cake, make sure to do so after step 13. Once the rest of the batter is on top sprinkle the sesame evenly around the top.

The Kid Stays in the Kitchen: Jessalyn’s Noodle Soup

15Jessalyn
3soysauce
4washing bokchoy
4abok choy
JEssalynScallions
1scallions
5fish
7marinated pork
9noodles2
8noodles
11adding fish
12adding pork
13adding water
10adding bokchoy
16JessalynFinal

I’m excited to present our newest edition of “The Kid Stays in the Kitchen.” Each week a student is assigned to cook a traditional dish with a friend or family member and document the experience in photos and words. This week features Jessalyn, who prepared a Taiwanese pork and fish soup with her mom.


Soup noodles or no noodles! It’s a peculiar saying, but it’s one that I’ve heard over and over since childhood. If you’re lucky enough to experience the Taiwanese culture and its sometimes weird but delicious food, you’ll find that the Taiwanese have an obsession with soup.  And no matter where you go, you’ll never find a good soup without perfectly pulled noodles far behind.

This Taiwanese noodle soup, much like the American chicken noodle soup, is an extremely easy dish to make. But for those like me, who find themselves dropped oceans away from their beloved homeland, it is also the greatest comfort food. Just the smell of searing scallions mixed with soy sauce brings me back to Taiwan during the hot and wet typhoon season.  I’d sit at the dinner table with a steaming bowl of soup, wind and rain racking against the roof.

We all know soup is comforting when we’re sick; it’s also liquid life on a cold day. So I encourage everyone to try out this short and sweet recipe! Make your own beautiful Taiwanese noodle soup! — Jessalyn

Taiwanese Noodle Soup: Recipe by Jessalyn’s mom, Wen-yu Chang

Soup Ingredients

  • ½ lb Bok Choy
  • 3 Tbsp Soy Sauce
  • 5-10 stalks of Scallions
  • 8 cups of water
  • 1 pack Chinese flat noodles (rice or flour)
  • Vegetable Oil
  • Sesame Oil
  • Salt
  • MSG (optional)
  • White pepper

Pork Ingredients

  • 3 Tbsp Corn starch
  • 3 Tbsp Soy Sauce
  • 1-Teaspoon Salt
  • 1 egg

Recipe

Pre-preparation of Pork (or any type of desired meat or fish)
Use a plastic bag and put about ¼ to ½ lb of meat into it. Add the 3 tbsp of cornstarch and soy sauce and 1 teaspoon of salt to the bag. Crack one egg and whisk till frothy, then add to bag as well. Allow pork to marinate from anywhere to two hours to overnight.

Soup
Wash bok choy and scallions with cold water and rinse off twice. Cut each of the scallion stalks into thirds. Heat the pot until steaming hot and add vegetable oil until it creates a layer on the bottom of the pot. Sear scallions till they have a slightly browned, then add 3 tablespoons of soy sauce and 8 cups of water. Let the water come to boil then add noodles and allow to boil for 7-8 minutes. After the noodles are semi-boiled (after the 7-8 minutes) add the strips of pork throughout the soup and noodles. When the water has come to another boil, add the bok choy and cover the lid of the pot. Allow the soup to boil for 6-10 minutes, or until the boy choy has softened. Use salt, MSG, and white pepper as seasoning. Adjust amounts as desired. Lastly, sprinkle some sesame oil into the soup.
Enjoy!

The Kid Stays in the Kitchen: Leila’s Kitri

DSC01557
DSC01474
DSC01481
DSC01477
DSC01484
DSC01485
DSC01500
DSC01487
DSC01488
DSC01490
DSC01483
DSC01509
DSC01512
DSC01518
DSC01548
DSC01552
DSC01563
DSC01564
DSC01571
DSC01577
DSC01575
DSC01578

Welcome back to our student cooking series, “The Kid Stays in the Kitchen.” Each week a student is assigned to cook a traditional dish with a friend or family member and document the experience in photos and words. This week features Leila, who may look familiar to you because she is the twin sister of Tammi, our first contributor to the series.  Leila and her mom, Ellen, chose to make Kitri, an Iraqi rice and lentil dish. You’ll get to meet the whole family in this post as each played a role in its creation…and consumption. My favorite photo by far is the one of Ellen, not only for her priceless expression, but also for the fantastic wall of Tammi-Leila pics on the refrigerator behind her.  Thanks for letting us peek inside your home! — Ms. Boylan

Kitri is the Iraqi take on rice and beans. It combines Basmati rice, lentils, onions and tomato sauce together to make a delectable dish that is full of flavor and character. Yes, Kitri even has character! It is traditionally made for dinner on Thursdays because it is a meat free alternative before the heavy Shabbat meals that begin on Friday night and commence with Saturday dinner. It is also customary to have Kitri as the dinner before the Tisha B’Av fast that takes place in the summer. I had never acquired a taste for the lentil and rice dish until a year or two ago. I have vivid memories of going to a family dinner at my aunt and uncle’s house, and my older cousins chowing down on it.  The red rice looked so appealing, but I just couldn’t bring myself to enjoy the texture of the lentils. Another cousin of mine was so impressed with the Kitri that her future husband once made her, that when they got married, my Dad claimed it was because of the Kitri!

As I have grown however, my tastes have changed and I now love eating it. I prefer it with plain yogurt because it adds a nice contrasting coolness to the warmth and texture of the lentils, but my parents enjoy it with a fried egg as well. It is usually served with Zabzi, “greens” such as scallions, radishes and lettuce. Because of my family heritage, my mother’s Kitri emulates an Iraqi version, whereas the Persian variety contains raisins, dates, saffron and green lentils rather than red. It is a treat when my mother makes the dish and because it is so easy, it will be my fallback in college! — Leila H.
Recipe for Kitri by Leila’s mom, Ellen
Ingredients
  • 2 Cups Basmati Rice
  • 1 Cup Red Lentils
  • 1 Onion
  • 2 Teaspoons Chopped Garlic
  • 1 ½ Cans Tomato Sauce (15 oz)
  • Cayenne Pepper

Directions:
In separate bowls, soak the rice and lentils in water and salt. Rinse the rice and lentils until the water in the bowls is clear. Chop up the onion and put it in the pot on the stove. Oil the added onions with vegetable oil. Turn the stove on high and stir the onions for a few minutes. Then add the chopped garlic and continue stirring. Add the tomato sauce, then fill the empty can with water and add that to the pot as well. Add salt and cayenne pepper to taste. Put the lid on the pot and bring to a boil. Pour the water from the bowls of rice and lentils into the sink. Pour the lentils into the pot followed by the rice. Boil uncovered until the liquid evaporates (approximately ten minuets). Then lower the heat to medium so the mixture does not burn once the liquid has evaporated. Pour some olive oil into the mix. Place two paper towels on the top of the pot and put the lid on. Be sure to cut off the corners of the paper towels so the paper doesn’t burn. Leave on high until steamed and test by licking your finger and tapping the outside of the pot (don’t worry, it doesn’t hurt). If moisture sizzles, then that’s a good sign. Lower to medium heat for approximately ten minutes and then to a simmer for 45-60 minutes. Serve with plain yogurt, fried eggs and greens.

The Kid Stays in the Kitchen: Gilberto’s Chiles en Nogada

IMG_1262
IMG_1250
IMG_1256
IMG_1258
IMG_1259
IMG_1261
IMG_1263
IMG_1270
IMG_1271
IMG_1274
IMG_1278
IMG_1279
IMG_1281
IMG_1287
IMG_1288
IMG_1294
IMG_1297
IMG_1301

This is the second week of our cooking series, The Kid Stays in the Kitchen.”  Each week a student is assigned to cook a traditional dish with a friend or family member and document the experience in photos and words.  This week features Gilberto, who decided to cook Chiles en Nogada, a traditional Mexican dish with his mom.

Cooking with my mother isn’t something that I do all that often. In my family we have this mindset that one person – either my mom or my dad — cooks for the other members. And although food is very much a uniting force in my family and in Mexican culture as a whole, cooking is a solitary activity in our home.  Nonetheless, my mom and I both found it very different and enjoyable to have someone in the kitchen to chop and chat with.

My family had debated for a while what we were going to cook for dinner since we all had to eat it that night. After much deliberation between my parents and me, we finally decided on Chiles en Nogada. It is a take on another Mexican dish called Chiles Rellenos, which means Stuffed Peppers in Spanish. My mom has made Chiles Rellenos many times but she never actually tried Chiles en Nogada, so she had to call my grandmother, who still lives in Mexico, to get the recipe. My mom told me that as a child, she and her brothers would always have this when there was a big celebration in her neighborhood in Mexico City. The dish is made traditionally in the month of September around the time of Independence Day. The colors of the dish represent each of the three main colors of the Mexican flag: the green poblano chiles are stuffed with ground meat, chopped fruit and spices and dressed with a creamy walnut sauce and topped with red pomegranate seeds.   There’s a real patriotic connection to the dish, according to my grandmother, and it means a lot to the people of Mexico.  — Gilberto A.

Recipe for Chiles en Nogada by Gilberto’s grandmother, Guillermina

Ingredients

  • 5 green bell peppers (or Poblano if you can find them)

For the stuffing:

  • 1 Spoonful of Vegetable Oil
  • 1 Diced Onion
  • 2 diced garlic cloves
  • 1 pound of ground beef
  • 2 peeled tomatoes without seeds
  • 1 diced plantain
  • 1 diced apple (of your choice)
  • 1 diced peach
  • 1 diced pear
  • 7 to 8 olives
  • ¼ cup of almonds
  • ¼ cup of raisins
  • 1 whole clove
  • ¼ spoon of salt

For the sauce:

  • 1 cup of sour cream
  • ½ bar of cream cheese
  • 2 cups of walnuts
  • ½ cup of whole milk
  • ¼ spoonful of cinnamon
  • ½ cup of pomegranate seeds

Preparation

Peppers

Toast each pepper individually over an open flame. Put them inside a plastic back to make them sweat for 30 minutes. Take them out of the bag and peel off the skin.

Stuffing

Mix in the diced pears, peaches, apples, and plantain into one bowl. Preheat pot on low heat for 15 minutes. Add ground beef and onions into pot. Keep on low heat and cook for 20 minutes.  Stir in fruit mixture as well as the olives, tomatoes, cloves, and garlic cloves.  Turn the heat off and put it into another container.  Mix in salt and almonds.

Sauce

Add all ingredients except the pomegranate seeds into a blender.  Blend on low speed for 30 seconds.

Plate

Cut a small slit in each pepper on one side and with a small spoon, gently fill the pepper with the meat stuffing.  Pour the walnut sauce on top and garnish with pomegranate seeds.  Enjoy!

The Kid Stays in the Kitchen: Tammi’s Zaboon

tammi1
tammi2
tammi3
tammi5
tammi6
tammi7
tammi8
tammi9
tammi10
tammi11
tammi12
tammi13
tammi14
tammi15
tammi16

I’m excited to present our student cooking series, The Kid Stays in the Kitchen.”  Each week a student is assigned to cook a traditional dish with a friend or family member and document the experience in photos and words.  This week features Tammi, whose mom merges Iraqi-Jewish and Russian-Jewish traditions into their family meals, and together they cooked zaboon

When I was younger, I was a very picky eater. But zaboon, I devoured. I am one-fourth Russian-Jewish and three-fourths Iraqi-Jewish, and cow tongue is prepared in both cultures. My mom, half Iraqi and half Russian, combines the cuisines. The stew has an Ashkenazi base of tomato sauce, onions and mushrooms, but the spices, turmeric and cayenne, are as Iraqi as it gets.  The name of the dish, zaboon, is the Arabic name, and literally means tongue. It was the perfect parts sweet, tender, and a taste I can only associate with my home. Refusing to mix it myself as a child, I have vivid memories of my dad folding the rice into the stew. And then one day, when I was at that age when you begin to make connections, about seven or eight, I realized that zaboon was actually cow tongue. Eeeew! And that was it. I cut myself off cold turkey.

About a year later,  I was unable to resist any longer.  I got over the stigma — probably because everyone in my family seemed to enjoy it —  and indulged in the delicious, aromatic stew.  I have memories of eating it quite often since then, always on Friday nights for our special Shabbat meal. It is also eaten on Rosh Ha’Shanah, the Jewish New Year, at the Seder table. According to Iraqi tradition, zaboon is eaten so that our year should be  “l’rosh ve lo l’zanav”, like the head and not the tail. And during Rosh Ha’Shannah, when my mom makes this dish for the whole family, I make sure to be the first person in line at the buffet to scoop some onto my rice before everyone else devours it. Now, however, I mix it myself.  — Tammi H.

Recipe for Zaboon by Tammi’s mom, Ellen

Ingredients

  • 2 cow tongues
  • 2 dried bay leaves
  • Water
  • 2 cooking onions
  • 1 tablespoon oil
  • 3 tablespoons water
  • 2 cans of tomato sauce – 15 ounces each
  • 10 ounces mushrooms – 1 package
  • Ground pepper*
  • Turmeric*
  • Cayenne pepper*

*Add to taste

Day One

Let the zaboon defrost over night. In the morning, boil the zaboon in enough water to suspend it for three hours and add the two bay leaves. This will clean the zaboon and the bay leaves will cut the grease. After two hours, test the zaboon for tenderness with a fork. Cook until the fork should come out with ease (about three hours).  Take the zaboon out and place on a plate to cool. Once cool, cover and refrigerate.

Day Two

Skin and chop the onions. Cut the onion in half, put the flat side on the cutting board and proceed to chop in half-inch slivers. Clean and chop the mushrooms in fourths, lengthwise. Pour the oil into a pot, and then add the onions and mushrooms. Sautee for 10 minutes and stir occasionally. As you are stirring, add a splash of water, pepper, turmeric and cayenne pepper. Let sit for ten minutes, or until the mushrooms and onions have softened and released juices. Then, pour in one can of tomato sauce, fill it half way with water, and pour the water into the pot. Then pour in half of the other can of tomato sauce.  Let the mushrooms, onions, and sauce boil with the lid on for about ten minutes. Then, place it into a container, let cool, and place in the refrigerator until ready to cook. This allows the flavors to mature and mix.

Remove the zaboon from the refrigerator  and peel the outer thick skin (leather like). Slice each zaboon width wise in quarter inch slices. If you would like, cut the slices in half to make the pieces smaller. On the plate that the zaboon was on, a gel-like substance has formed, which is the solidified fat. Use the gel to line the bottom of the casserole dish. Place the zaboon on top of the gel. Pour the sauce on top. Mix the sauce and zaboon. Add water if the consistency is too thick.  Pat it down with a fork to level. Cover with the lid, and bake in the oven at 350°F for 1 hour.